Here’s the hard truth: by the time DIY subfloor get damage and becomes visible, the real culprit, the subfloor, has already been suffering for months. Moisture seeps in, plywood swells, adhesives weaken, and you’re suddenly looking at a full replacement instead of a quick fix.
Ever walked across your living room and felt a soft dip under your feet? Or heard that tiny creak that wasn’t there yesterday? Most people ignore those little signs until their floors start warping, cracking, or even molding from underneath.
But here’s the exciting part. Thanks to AI-powered tools and smart diagnostics, you no longer need to tear up your floors or hire expensive specialists to catch these issues early. With a phone, a small scanner, and a bit of curiosity, you can diagnose subfloor problems yourself before they turn into costly disasters.
Welcome to the era of DIY subfloor diagnostics where flooring care meets artificial intelligence.
Why Hidden Subfloor Damage Costs Homeowners Thousands
Most homeowners think of their floors as what they see: wood, vinyl, laminate, or tile. But the real foundation of your flooring system—the subfloor—is what decides how long those pretty planks last.
Subfloors absorb everyday stress: foot traffic, humidity shifts, water spills, and even subtle leaks from appliances. Over time, trapped moisture and weak spots lead to a silent enemy rot and delamination.
According to flooring industry data, over 80% of floor failures begin in the subfloor, not the surface layer. Wagner Meters reports moisture-related floor failures cost homeowners over $2.4 billion annually in the U.S. alone.
And the problem isn’t that the issues are impossible to detect, it’s that they’re invisible until it’s too late.
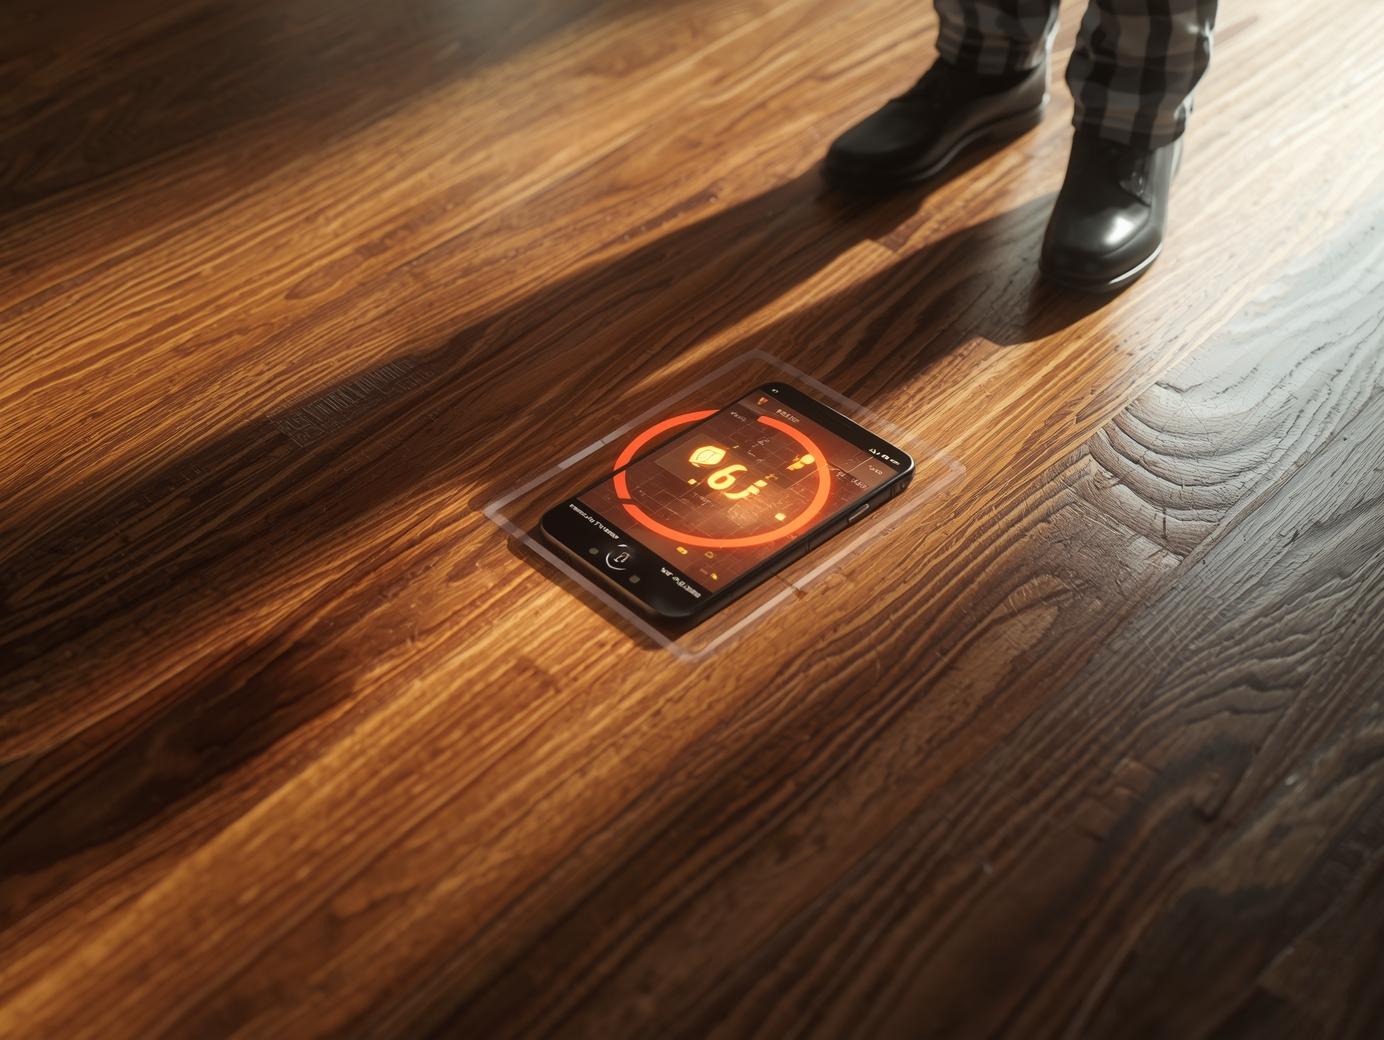
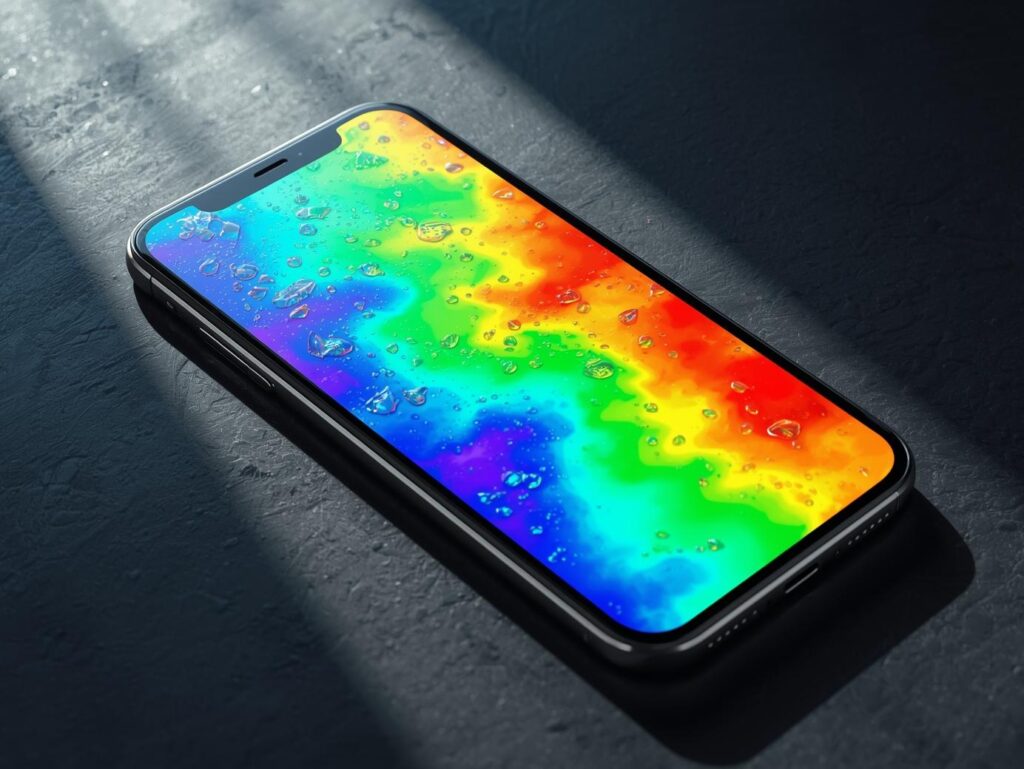
AI changes that. Instead of relying on visual cues, you can now use thermal cameras, moisture scanners, and AI analysis apps to see what your eyes can’t.
How AI Is Changing Subfloor Diagnostics
Artificial intelligence sounds intimidating, but in this context, it’s just smart pattern recognition. These systems use algorithms to analyze temperature differences, moisture patterns, and acoustic signals that humans can’t detect.
Here’s how it works in simple terms:
- Thermal imaging cameras pick up cooler spots that may indicate trapped moisture.
- AI Moisture Detection Apps analyze color, texture, and pattern shifts from your phone’s camera.
- Smart Sensors track changes in humidity or vibration over time, learning your floor’s “normal” state.
When something deviates, say, a new cold patch or a hollow sound the system flags it.
Think of it as having a microscopic eye and an analytical brain watching your floor’s health, 24/7.
The Tools That Bring AI Into Your Toolbox
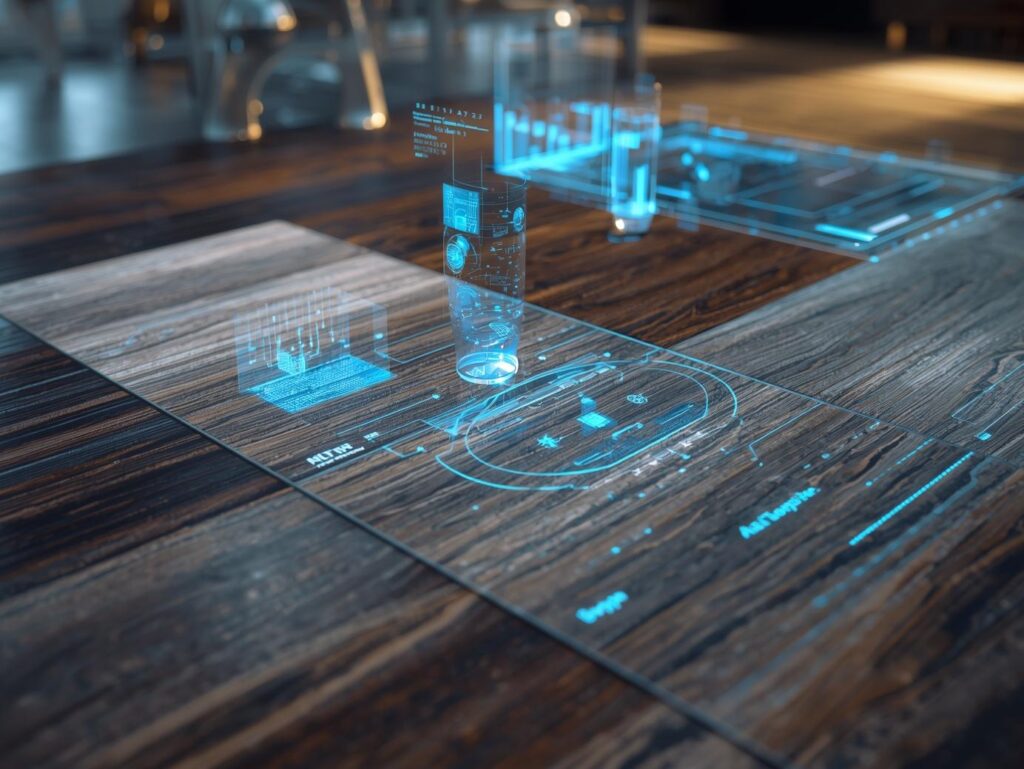
You don’t need fancy equipment or contractor-grade scanners. Most of the tools used in DIY subfloor diagnostics are affordable and user-friendly.
| Tool Type | What It Does | Example | Cost Range |
| Thermal Imaging Camera | Detects temperature changes indicating moisture | FLIR One Edge / Seek Thermal | $200–$400 |
| AI Moisture Analyzer App | Uses AI to analyze images for moisture or damage | Detectify, MoistureMap AI | Free–$50 |
| Smart Hygrometer | Tracks relative humidity and temperature over time | Aqara, Eve Room | $40–$60 |
| Vibration or Acoustic Sensor | Detects hollow spots or delamination | Govee Smart Sensor | $30–$80 |
These gadgets sync with your smartphone and give instant results. They’re especially useful for mixed or hybrid flooring systems (like vinyl over concrete or engineered wood over plywood), where visual inspection is nearly impossible.
Step-by-Step: DIY Subfloor Inspection Using AI
Let’s turn your smartphone into a smart inspector. Here’s how to run a full diagnostic without lifting a single floorboard:
Step 1: Identify Problem Areas
Start with the usual suspects under sinks, near entryways, bathrooms, or any room with visible cupping or creaks.
Step 2: Collect Baseline Data
Use your moisture meter or mobile sensor to take readings every few feet. Keep lighting and temperature conditions consistent.
Step 3: Feed Data into an AI Tool
Upload your readings to an app like MagicPlan or a ChatGPT prompt. These tools detect outliers and visualize risk areas.
Step 4: Interpret Results
Anything above 18% moisture content signals early-stage risk. Persistent soft zones could indicate structural weakness.
Step 5: Compare Over Time
Repeat your scan every two weeks. A steady rise in readings usually means an active moisture source.
Common Mistakes to Avoid
- Scanning on humid days (false highs).
- Forgetting to calibrate your sensor.
- Taking readings too close to vents or radiators.
5. DIY Fixes You Can Try Immediately
Detected early damage? Don’t panic, there’s plenty you can do before calling in a pro.
Dry and Dehumidify
Use a portable dehumidifier or moisture absorber to stabilize humidity below 55%.
Seal and Strengthen
Apply a polyurethane sealant or underlayment moisture barrier. These create a protective layer that limits future absorption.
Reinforce from Below
If your crawl space or basement is accessible, add plywood supports or use subfloor adhesive to stabilize weak spots.
Real-Life Example: Saving $1,200 With a Thermal Camera
Meet Sam, a homeowner from Denver. His vinyl planks started showing small bubbles near the kitchen. Instead of calling a contractor right away, he bought a $250 thermal imaging camera.
Within minutes, he spotted a cool patch near the dishwasher about the size of a notebook. A moisture meter confirmed the subfloor RH was over 90%. Turns out, a tiny leak from the supply line had been seeping into the plywood for weeks.
He fixed the leak, dried the subfloor, and avoided what would’ve been a $1,200 flooring replacement.
That’s the power of early AI detection: it turns guesswork into prevention.
The Future of DIY Subfloor Care: AI That Listens to Your Home
Soon, you won’t even need to scan manually. Smart home floors are emerging with embedded micro-sensors that continuously track moisture, vibration, and sound. These systems will alert homeowners in real time when humidity spikes under the floor.
Imagine saying:
“Alexa, check my subfloor.”
And getting an instant health report.
AI will turn flooring care into predictive maintenance, reducing waste, preserving materials, and supporting sustainability by preventing premature replacements.
How to Use This Guide—3 Quick Steps
- Download an AI moisture or layout app like MagicPlan or RoomScan Pro.
- Scan high-risk areas (bathrooms, kitchens, and basements) every two weeks.
- Save your readings and analyze them with ChatGPT or AI data tools to spot trends early.
FAQs—DIY Subfloor Diagnostics & AI Tools
Q1. Can AI really detect moisture in floors?
Yes. AI uses data from sensors or phone microphones to detect patterns in temperature, vibration, and humidity that signal hidden moisture buildup.
Q2. What’s the simplest DIY method for weak spots?
Use a vibration detection app. Tap the area lightly; AI analyzes the echo to reveal hollow or spongy zones.
Q3. How much do these AI tools cost?
Most range from free to $10 for apps. Add-on sensors cost around $40–$60 for accurate moisture tracking.
Q4. How often should I run scans?
Every two weeks is ideal, or after heavy rain, plumbing leaks, or spills.
Q5. Can ChatGPT help interpret my floor readings?
Absolutely. Paste your readings and ask for a summary of moisture risk, along with suggested DIY solutions.
Q6. Does this replace a professional inspection?
No. It’s an early detection method that helps you act fast and communicate clearly with pros before major damage sets in.