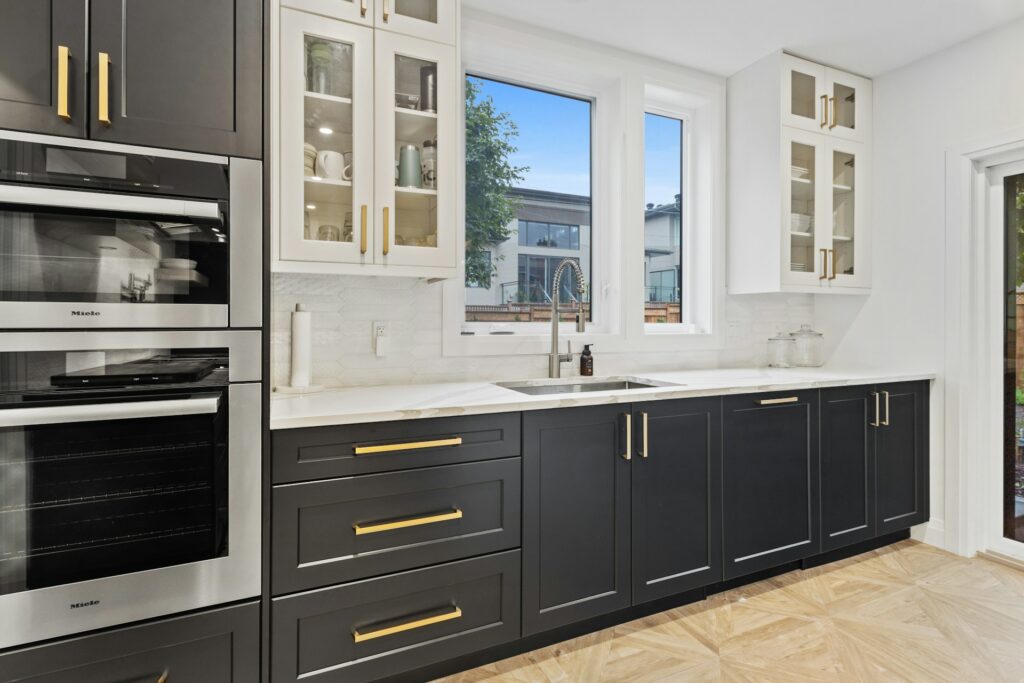
If you’ve ever priced “custom” cabinet doors, you know the shock. The words “handcrafted” and “bespoke” somehow double the cost. But here’s the truth you can get that same clean, custom look without hiring a cabinetmaker or owning a full woodworking shop. With a few basic tools, the right materials, and a little patience, you can learn how to build cabinet doors that look like they came from a high-end kitchen showroom all on a realistic DIY budget.
This guide breaks down exactly what you need, what each step looks like, and how to get a factory-level finish for a fraction of the price. Whether you’re updating a rental kitchen or giving your forever home a facelift, this is the project that makes the biggest visual impact for the least money.
Why Build Your Own Cabinet Doors?

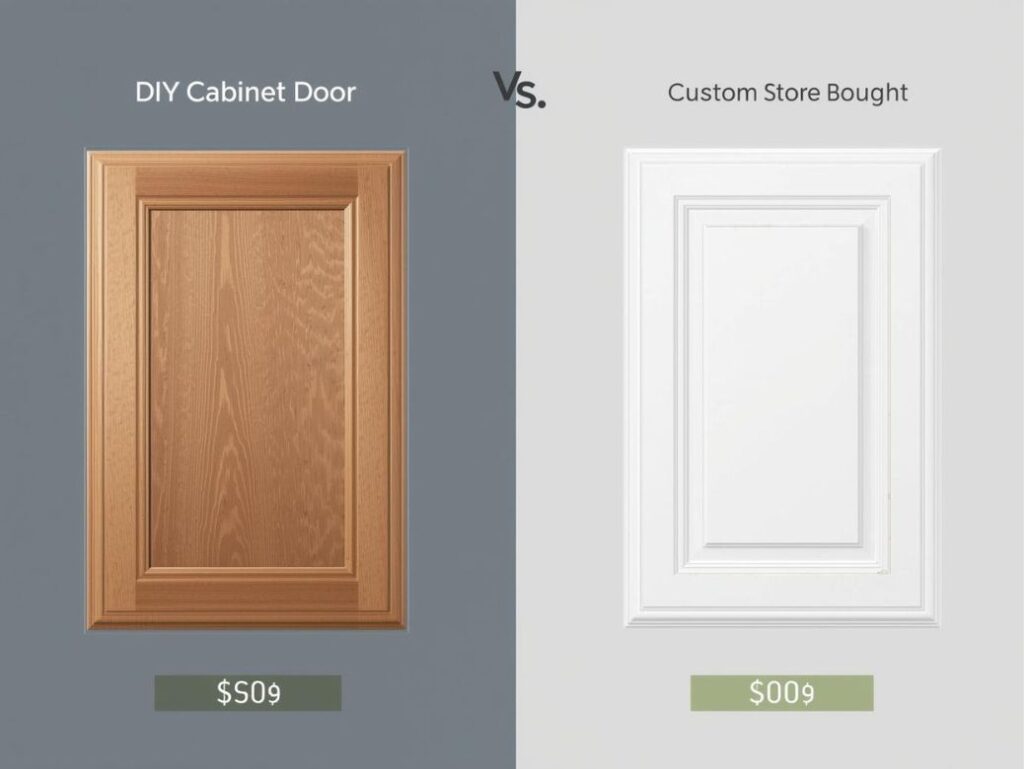
Let’s be honest store-bought cabinet doors come in two categories: cheap and flimsy or beautiful and overpriced. Building them yourself gives you control over style, quality, and cost.
Here’s the real math: a simple 12×24-inch custom door from a cabinet supplier can run anywhere from $60 to $150. The same door, built at home with poplar rails and an MDF panel?
About $25–$35. Multiply that by a dozen doors, and you’re saving hundreds if not more.
Beyond the money, you get something store-bought doors can’t offer: pride. Every time you walk into your kitchen and see those clean lines and smooth finishes, you’ll know you built that.
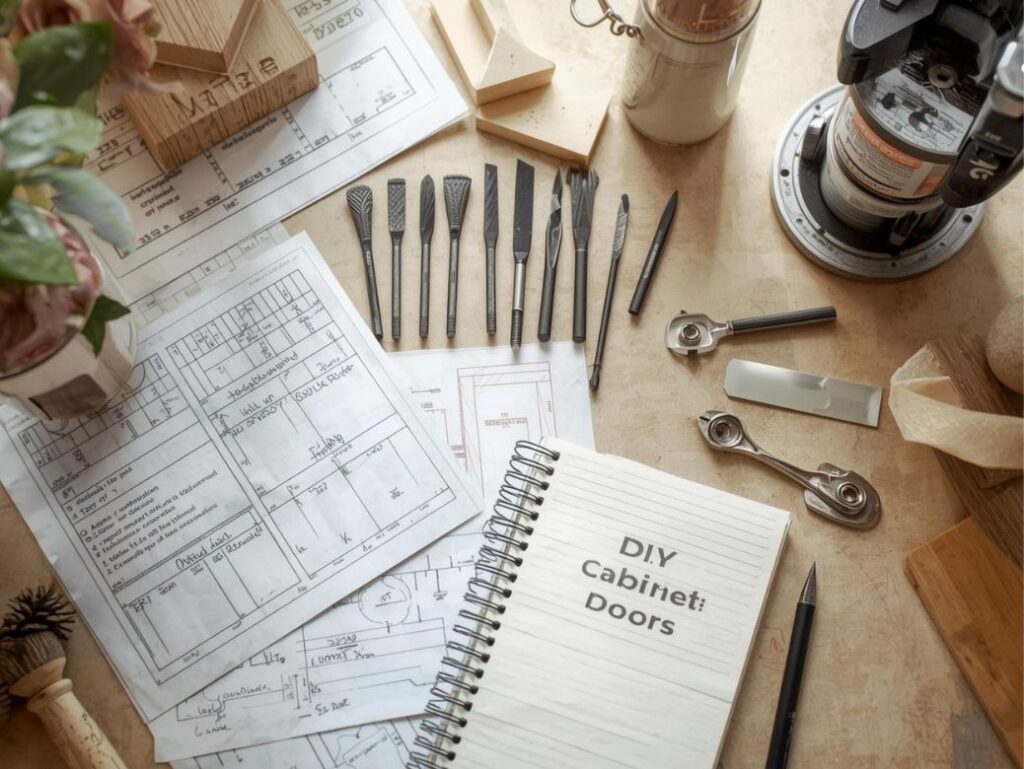
What You’ll Need (and What You Can Skip)
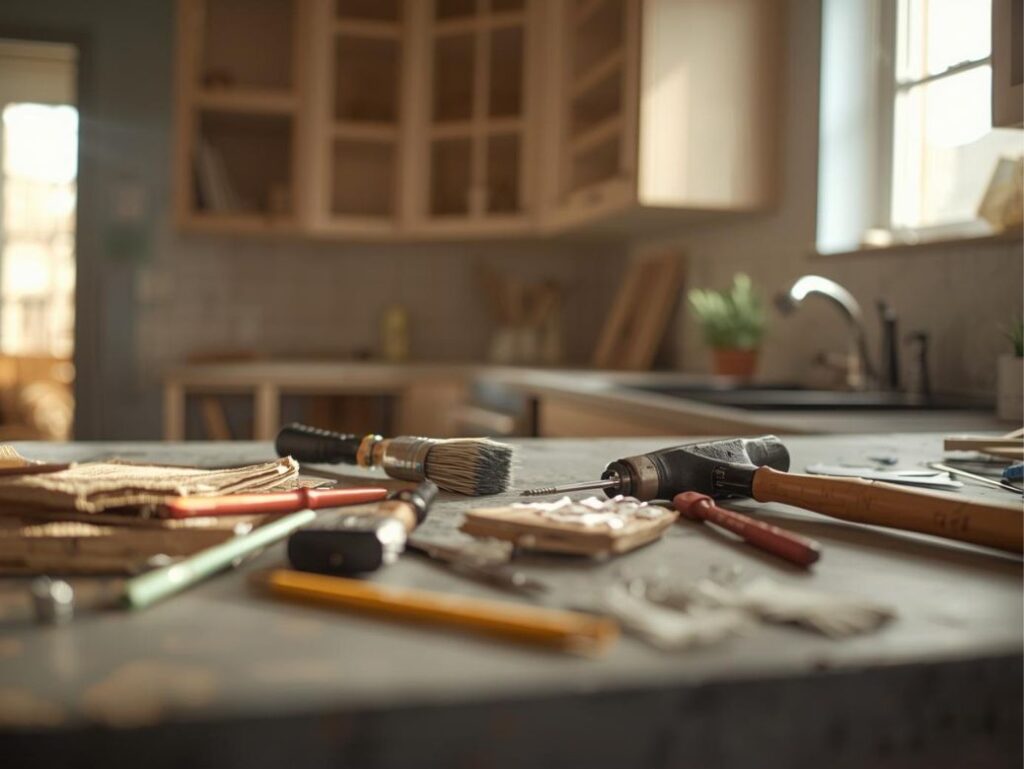
You don’t need a full workshop to make beautiful cabinet doors. A few solid handheld tools can take you far.
Materials
- One sheet of either ¼” or ⅛” plywood or MDF is needed for the panels.
- Stiles and rails: 1×2 boards (pine or poplar)
- Wood glue and wood filler
- Pocket screws or dowels
- Sandpaper (120, 220, and 320 grit)
- Primer and paint (or stain and sealer)
- Grain filler (for open-grain woods like oak)
- Hinges and handles
- Edge banding (for slab-style doors)
Tools (choose based on what you have)
Budget-friendly handheld setup:
Circular saw, jigsaw, router, clamps, drill, sanding block, measuring tape, square, and pencil.
Small-shop setup:
The table saw, miter saw, router table, and orbital sander make the job faster and cleaner.
Money-saving tip: Borrow or rent a router and clamps for the weekend. Even professional carpenters do that when working off-site.
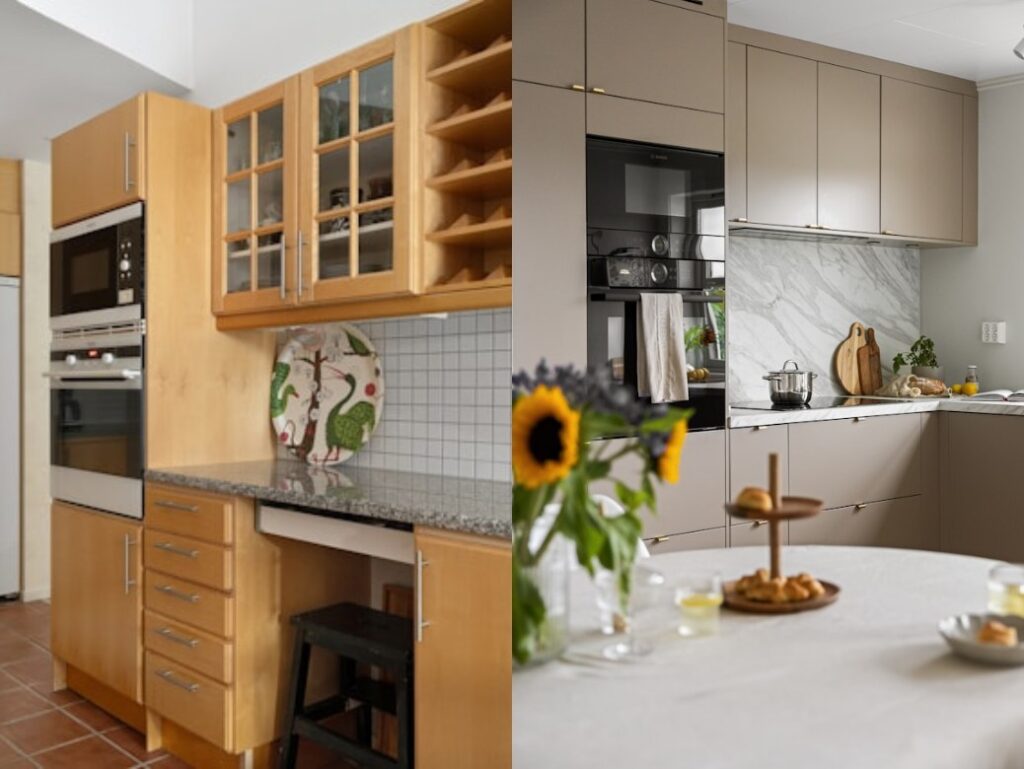
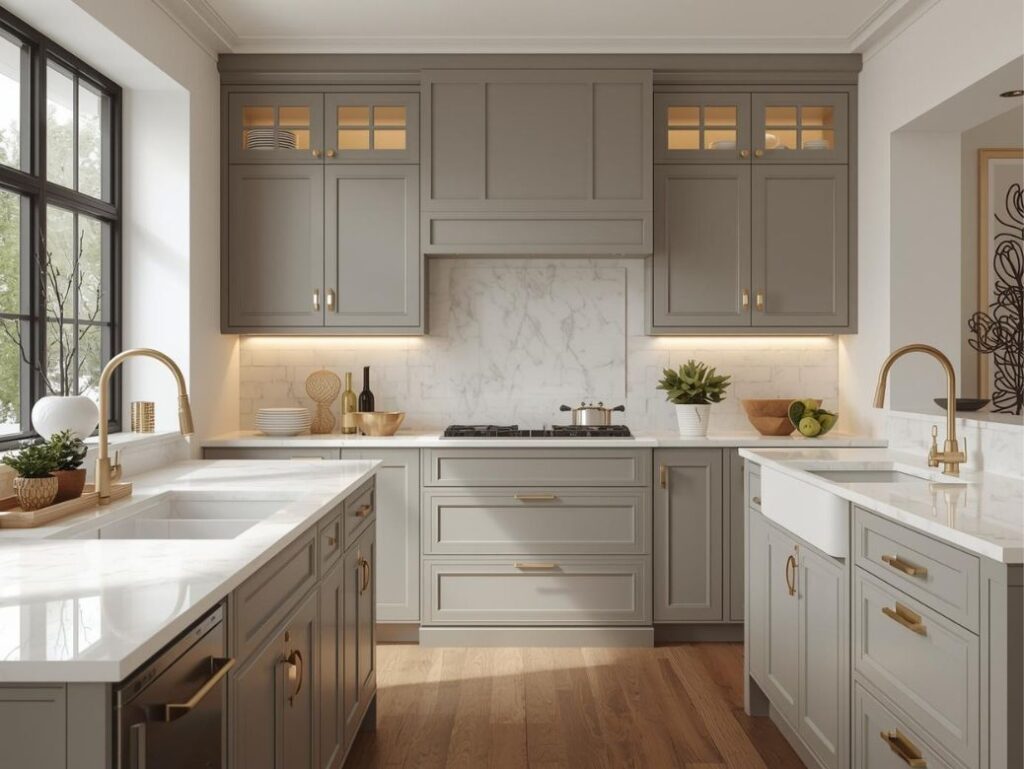
Step 1: Decide on Your Door Style
Not all cabinet doors are created equal. Your style choice affects both the tools you’ll need and the final look.
Shaker Overlay—Simple, timeless, and forgiving. Perfect for first-timers.
Inset—The door sits flush with the cabinet frame. Requires precision but looks high-end.
Slab (Veneered)—Flat, modern, and fast to make. Ideal for minimalist spaces.
Quick tip: If you’re painting, use MDF or poplar. If you want a natural wood finish, go for maple or oak.
Step 2: Measure and plan.
This step sounds basic, but it’s where most mistakes happen.
- Measure the cabinet openings twice.
- For overlay doors, add 1 inch total to your opening width and height (½ inch overlap per side).
- For inset doors, subtract 1/8 inch total to allow for a small reveal.
Mark your measurements clearly on paper before cutting. For accuracy, use a sharp pencil and a straightedge or square.
Step 3: Cut Your Pieces
If you’re going for a Shaker-style door:
- Cut four frame pieces (two rails, two stiles).
- Cut your panel from plywood or MDF.
- Use a router or circular saw to groove the rails and stiles.
- Dry-fit everything before gluing.
If you’re building Slab doors:
- Cut one solid piece of plywood to size.
- Apply edge banding to the sides.
- Iron it on and trim the excess with a flush-cut blade.
Budget hack: Instead of buying new boards, you can often use offcuts from a local lumberyard. Ask for “project panels”—they’re cheaper and perfect for doors.
Step 4: Assemble the Door
- Lay your stiles and rails flat. Apply wood glue in the grooves.
- Insert the panel and clamp the frame tight.
- For stronger joints, add pocket screws or dowels.
- Wipe away glue squeeze-out immediately.
- Let it dry overnight if possible.
Once dry, sand the edges flush. Feel with your hand—the surface should feel perfectly smooth.
Step 5: Sand, Prime, and Paint Like a Pro
A beautiful finish makes the difference between “DIY” and “custom.”
Here’s how to get that factory-smooth surface:
- Sand the raw wood with 120-grit, then 220.
- Prime with a high-build primer (especially on MDF).
- Lightly sand again with 320 after the primer dries.
- Paint or spray two thin coats of your color.
- If staining, fill the grain before staining for a glassy finish.
- Topcoat with water-based polyurethane for durability.
Pro trick: Spray paint if you can—it lays flatter than a brush. But if you’re brushing, use a high-quality angled brush and long, even strokes.
Step 6: Attach the Doors
Once your finish is fully cured (24–48 hours), it’s time to hang them.
- Mark hinge placement (typically 2½ inches from top and bottom).
- Pre-drill holes for your screws.
- Mount the hinges first to the door, then to the cabinet frame.
- Adjust until the gaps are even and the doors swing smoothly.
If the door rubs or gaps unevenly, loosen the hinge screws slightly and realign. Don’t force it, precision is what makes it look custom.
Step 7: Optional Upgrades for a True “Custom” Feel
- Add soft-close hinges for a luxury touch.
- Install modern hardware (matte black or brass).
- Line the inside edge of panels with thin molding for depth.
- Apply a clear coat on top of paint for extra durability.
Step 8: How Much It Really Costs
Here’s a rough cost comparison for one standard 12×24-inch door:
| Build Type | Materials | Tools (Rental/Use) | Total Cost |
| Budget DIY (pine + MDF) | $20–$30 | Borrowed tools | $25–$35 |
| Mid-range (poplar + veneer) | $40–$60 | Router rental $25 | $60–$80 |
| Premium (solid hardwood) | $80–$120 | Table saw + sprayer | $100–$150 |
If you’re making 10+ doors, even a small investment in tools pays for itself by the second project.
Step 9: Common Problems (and Fixes)
Warped doors: Usually from finishing one side only—always seal both.
Rough edges: Sand with finer grit and re-prime.
Paint streaks: Thin your paint slightly or use a foam roller.
Uneven fit: Adjust hinge screws or sand edges lightly until the reveal is even.
These small tweaks are what make your DIY doors look like they came out of a professional shop.
Step 10: Final Thoughts
Learning how to build cabinet doors isn’t about becoming a master woodworker. It’s about understanding process and patience. You can start with just one door, test your cuts, practice your finish, then move on to a full set once you’re confident.
You’ll save money, gain real skill, and create something that adds instant value and personality to your space.
Custom-made doesn’t have to mean custom-priced. It just takes a steady hand, a bit of planning, and a willingness to try.
FAQ: How to Build Cabinet Doors on a Budget
1. How do you make cabinet doors from plywood?
Cut plywood to size, sand it smooth, and add edge banding or trim for a finished look. Paint or stain it for a custom finish that’s affordable and durable.
2. What’s the cheapest way to build DIY cabinet doors?
Use MDF or plywood slabs, glue and screw them together, then paint or seal. Skip fancy joinery—keep it simple and smooth.
3. How can I make cabinet doors without special tools?
You only need basics: a circular saw, drill, clamps, and sandpaper. Careful measuring and clean sanding matter more than pro tools.
4. What are some unique DIY cabinet door ideas?
Try cane or rattan panels, fluted MDF, or two-tone paint. Even small details can make a door look custom.
5. How do I make cupboard doors from MDF?
Cut MDF panels, seal edges, then prime and paint. MDF gives a smooth, modern finish perfect for painted doors.
6. What are some easy DIY cabinet door styles for beginners?
Start with slab or shaker doors, flat panels and simple frames that still look high-end when finished well.
7. How do I make cabinet doors with a router?
Use a router to cut grooves, edges, or decorative profiles. Take shallow passes for clean, professional results.
8. How can I make DIY slab cabinet doors?
Cut flat MDF or plywood panels, add edge banding, sand, and paint. It’s the quickest, most budget-friendly option.