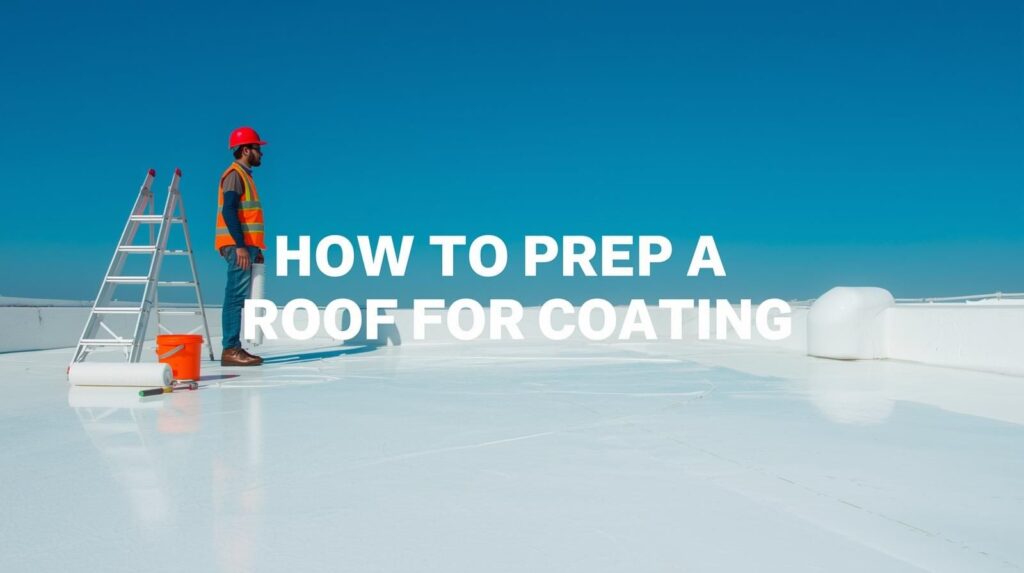
If you’re wondering How Do You Prep a Roof for Coating, you’re already one step ahead.
Proper preparation is the secret behind a long-lasting, watertight, and energy-efficient roof. Even the best coating will fail if applied on a dirty, damaged, or wet surface.
In this guide, you’ll learn exactly what to do before coating your roof — from cleaning and repairing to priming and testing adhesion — all in a simple, step-by-step way that homeowners and contractors can follow.
Quick Answer
If you just need the essentials:
- Inspect the roof, repair any leaks, cracks, or loose seams.
- Clean thoroughly with a pressure or soft wash, removing dirt, oils, and debris.
- Dry completely, prime if needed, and test adhesion before coating.
- Avoid coating in damp, cold, or windy weather.
In short: clean, dry, repair, prime, and test — that’s how you prep a roof for coating the right way.
- Quick Answer
- Why Roof Prep Matters Before Coating
- Safety First: PPE, Fall Protection & Weather Conditions
- Tools & Materials You’ll Need
- Step-by-Step: How to Prep a Roof for Coating Safely
- Roof Coating Readiness Checklist
- Common Mistakes to Avoid When Prepping a Roof
- Cost & Time Estimates (DIY vs Pro)
- Warranty & Documentation
- Maintenance After Coating
- FAQs About Roof Prep Before Coating
- Final Thoughts & Next Steps
Why Roof Prep Matters Before Coating
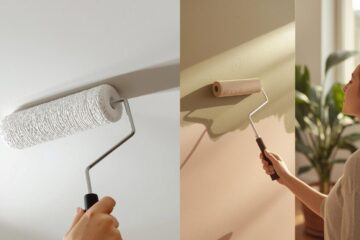
Your roof’s surface is like a canvas — if it’s dusty, damaged, or uneven, the paint (or coating) won’t stick. Roof coatings form a thin, waterproof film that bonds tightly to the surface below.
If that surface has dirt, old flaking coatings, or hidden moisture, adhesion breaks down, leading to blisters, peeling, and leaks.
Every roof type — whether it’s metal, EPDM, TPO, concrete, or asphalt — reacts differently. For example:
- Metal roofs need rust removal and primer.
- Flat roofs (EPDM or TPO) require chemical cleaning.
- Asphalt or bitumen roofs often need patch repairs before coating.
A few hours of prep can add 10+ years to your coating’s lifespan — and protect your warranty too.
Read: Bathroom Remodel Ideas -White -Gray: How to Create a Calm, Modern Retreat at Home
Safety First: PPE, Fall Protection & Weather Conditions
Before climbing that ladder, safety first.
Working on roofs can be slippery, especially during cleaning or after rain.
Wear and prepare:
- Non-slip roofing boots and gloves for grip.
- Eye protection and respirator if using solvent-based products.
- Safety harness and anchored lifeline if the slope is steep.
- Avoid working alone — have someone nearby in case of emergency.
Weather check:
Never start coating if it might rain within 24–48 hours. Ideal temperature range: 50°F–90°F (10°C–32°C).
Humidity should stay below 85%, and the surface must be dry to the touch.
Good weather = great adhesion.
Tools & Materials You’ll Need
Gather everything before you start. Having the right tools saves you frustration mid-project.
Essentials:
- Pressure washer (1,500–2,500 PSI max) or soft wash setup.
- Wire brush, scraper, or grinder (for rust removal).
- Roof patch kits, cement, or reinforcing fabric for repairs.
- Primer (specific to roof material — e.g., acrylic, silicone, or metal primer).
- Masking tape, caulking gun, and protective plastic sheets.
- Microfiber towels, bucket, and ladder.
- Adhesion test kit or simple painter’s tape.
Avoid:
Steam cleaners, harsh solvents, ammonia-based products, or abrasive pads — these can damage the roof surface and reduce coating adhesion.
Step-by-Step: How to Prep a Roof for Coating Safely
Here’s your clear, detailed process to follow before applying any coating.
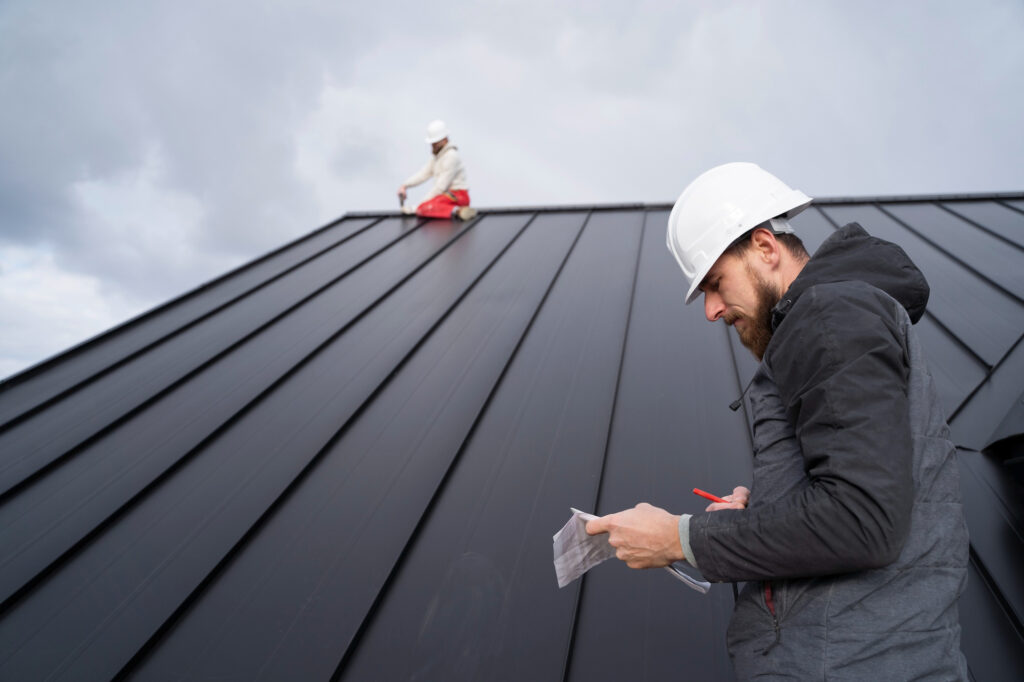
1. Inspect the Roof Thoroughly
Start with a close inspection.
Look for cracks, loose seams, rust, pooling water, or areas where the old coating is peeling off. Check around vents, skylights, flashing, gutters, and HVAC curbs — these spots often hide damage.
Tip:
Take photos before and after. Documentation helps if you’re filing a warranty or insurance claim later.
2. Remove Loose Debris, Dirt & Growth
Sweep or blow off dust, leaves, and branches.
If you notice moss or algae, apply a gentle biocide wash or a 1:4 mix of bleach and water (test first). Allow it to sit 10–15 minutes before rinsing.
Avoid wire brushes on delicate membranes — soft-bristle brushes or microfiber pads are safer for synthetic surfaces.
3. Deep Clean: Pressure Wash or Soft Wash
The key to strong adhesion is a clean surface.
- For metal roofs, use a pressure washer (under 2,500 PSI) and a neutral cleaner.
- For EPDM, TPO, or asphalt, soft-wash with a low-pressure sprayer and non-acidic detergent.
- Always rinse thoroughly and let the roof dry for at least 24 hours.
Pro tip:
if you can press a paper towel to the roof and it comes up dry, you’re ready to move on.
4. Repair Any Damaged Areas
Once dry, fix everything before coating.
- Metal: Remove rust, treat with rust converter, and seal screws or seams.
- EPDM/TPO: Patch tears with repair kits or heat weld seams if needed.
- Concrete/asphalt: Fill cracks with elastomeric sealant or roofing cement.
- Flat roofs: Reinforce high-stress zones with polyester fabric.
Skipping this step guarantees future leaks — fix it now, not after coating.
5. Apply Primer (If Required)
Priming is like giving your coating a perfect base.
Use a primer when:
- The surface is porous (like concrete or aged asphalt).
- You’re coating over bare metal or repaired rust.
- The manufacturer specifically requires it for warranty coverage.
Let the primer fully cure (usually 2–4 hours) before coating.
6. Mask, Tape & Protect Non-Coated Areas
Cover anything you don’t want coated — vents, skylights, trims, or siding.
Use breathable tape and plastic sheets around edges and drains. It saves hours of cleanup later.
7. Do an Adhesion & Moisture Test
Don’t skip this pro step.
Use a tape pull test — coat a small 2×2 ft area, let it dry, apply duct tape, and pull. If the coating stays attached, adhesion’s good.
Check moisture again — the surface must be bone dry before applying the full coat.
Now your roof is officially coating-ready.
Read: How to Clean Aquarium Decorations Without Removing Them
Roof Coating Readiness Checklist
Before you open that coating bucket, confirm:
✅ Surface completely dry and clean
✅ All repairs sealed and primed
✅ Adhesion test passed
✅ Weather forecast clear (48–72 hours)
✅ Safety gear ready
You can print or save this list as your pre-coating checklist.
Common Mistakes to Avoid When Prepping a Roof
Even experienced DIYers slip up here. Watch out for these:
- Skipping cleaning: dirt breaks adhesion.
- Coating on damp roof: causes bubbling and peeling.
- Using wrong primer: can cause chemical incompatibility.
- Ignoring weather: coating in cold, humid, or windy conditions ruins the finish.
- Not checking the manufacturer’s guide: every coating has its own rules.
Cost & Time Estimates (DIY vs Pro)
DIY prep and coating: $0.50–$1.25 per sq. ft (tools + cleaner + primer).
Professional service: $2.00–$4.00 per sq. ft (labor + materials + warranty).
Expect 1–2 days for cleaning and repairs, and 1 more day for coating — depending on drying times and roof size.
If your roof is steep or heavily damaged, hire a professional crew — safety always comes first.
Warranty & Documentation
If you’re using a branded coating (like Henry, Gaco, or Dicor), follow the manufacturer’s prep guide exactly.
Keep photos, receipts, and product batch numbers — it’s proof that you followed their instructions if you ever file a claim.
Ignoring prep steps is the top reason manufacturers deny warranty coverage.
Maintenance After Coating
Once your coating cures, your job isn’t over.
- Inspect twice a year — after winter and after summer storms.
- Clean with a mild detergent and soft brush to remove dirt or mildew.
- Check for punctures, peeling, or ponding water.
- Re-coat every 8–10 years or per manufacturer’s recommendation.
A clean, well-maintained roof coating can last up to 20 years.
FAQs About Roof Prep Before Coating
Q: How long should my roof dry before coating?
At least 24 hours, or until there’s no visible moisture. Always follow coating label guidelines.
Q: Can you coat over an old roof coating?
Yes, but only if it’s in good condition, firmly attached, and clean. Do an adhesion test first.
Q: Is pressure washing enough?
It’s part of prep — but not a replacement for repairs or priming.
Q: Can I coat my roof in winter?
Only if temperatures stay above 50°F and humidity is low. Most coatings won’t cure properly in cold weather.
Final Thoughts & Next Steps
Prepping your roof before coating isn’t just a formality — it’s the foundation of a roof that lasts.
A clean, dry, and repaired surface ensures your coating adheres perfectly and protects against leaks for years.
Remember: prep determines performance.
Take your time cleaning, repairing, and testing before you start coating.
Do it right once — and your roof will reward you with durability, efficiency, and peace of mind.
Read: Cheap Doesn’t Mean Basic: How to Upgrade a black chain-link fence for $100
If you want to explore more these kind of blogs, visit PrimeLivingSpace.