
If you’ve ever stared at a stubborn window screen and wondered how to get it out without bending, tearing, or cracking the frame, you’re in the right place. This guide will show you exactly how to remove a window screen without breaking it, whether it’s stuck, spring-loaded, or tightly fitted. From the right tools to step-by-step techniques for every window type, you’ll learn how to handle screens like a pro and keep your frames and mesh intact.
Whether you’re cleaning your screens, replacing a torn mesh, or just doing some home maintenance, this guide will walk you through everything from identifying your screen type to removing it safely and reinstalling it like a pro.
- Before You Start: Gather Your Tools and Prep the Space
- Step-by-Step: How to Remove a Window Screen Without Breaking It
- Different Window Types Need Slightly Different Techniques
- Clean, Repair, or Replace While It’s Out
- Reinstalling Your Window Screen
- Expert Tips to Avoid Breaking Screens in the Future
- Final Thoughts
Before You Start: Gather Your Tools and Prep the Space
Let’s make life easier by having what you need at arm’s reach. Here’s your short toolkit checklist:
- Flathead screwdriver or putty knife
- Needle-nose pliers
- Soft cloth or drop cloth
- Phillips screwdriver (for certain screens)
- Work gloves
- Ladder (if working on upper windows)
Lay a drop cloth under your workspace to catch dust or tiny screws. Next, inspect how the screen is attached. Some have spring clips, tabs, or splines (that rubber gasket holding the mesh in place). Understanding this will keep you from tugging blindly and bending the frame.
Step-by-Step: How to Remove a Window Screen Without Breaking It
1. Open the Window Fully
Make sure the window is open enough to give you room to maneuver. For sliding or double-hung windows, raise the lower sash or open the slider all the way. If you’re working on a casement or awning window, crank it outward.
2. Find the Screen Tabs or Latches
Most window screens have small metal or plastic tabs; these are your release points. For spring-loaded window screens, press the spring side gently toward the center of the window. You’ll feel it give slightly. This is your cue that the opposite edge can now be pulled out easily.
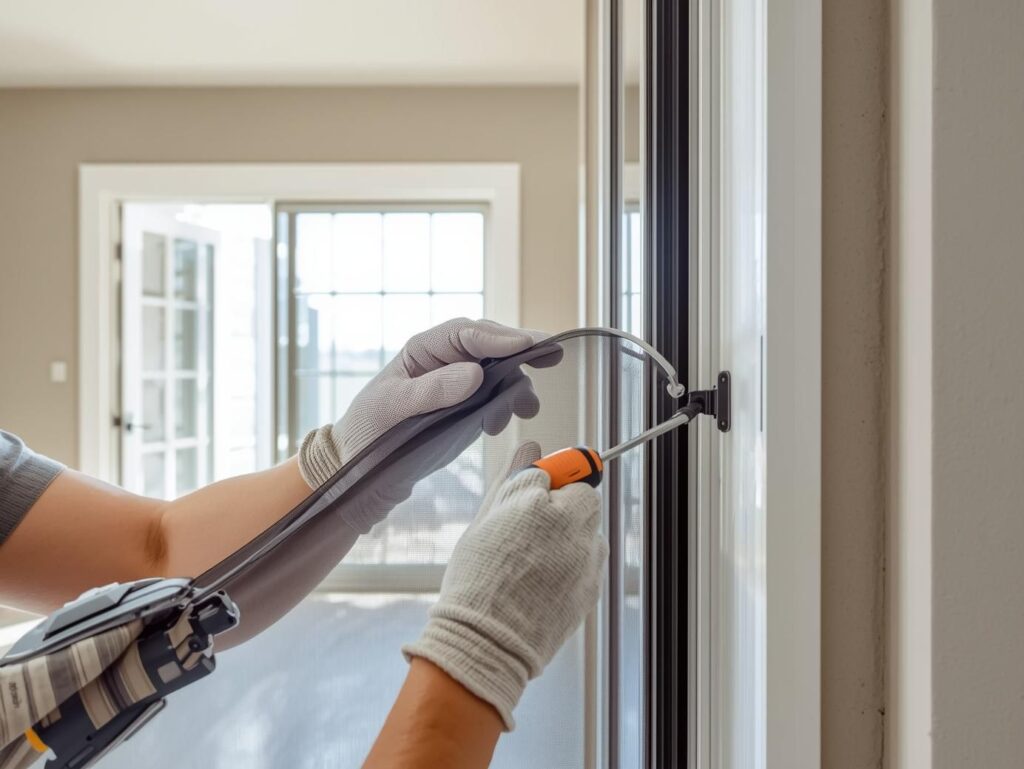
If you see spline or retaining clips, use your flathead screwdriver to gently pry one side loose. Be patient, no jerking motions. You’re guiding the screen out, not wrestling with it.
3. Gently Tilt and Lift the Screen Out
Once the tension side is released, tilt the screen slightly toward you and lift from the bottom. You’ll feel it come free from the track. If it resists, don’t force it—check for an extra clip or dried paint sealing the edges.
If it’s a painted-in screen, run your putty knife or utility blade carefully around the perimeter to break the paint seal before lifting again.
4. Support the Frame and Don’t Twist It
Window screens, especially aluminum ones, bend easily. Always support the long sides as you pull the frame out. Keep your grip firm but gentle. If the frame flexes, stop and reposition your hands.
5. Troubleshoot Stuck Screens
Sometimes grime or old paint locks the screen in place. Here’s what to do:
- Use a putty knife to loosen dirt or paint around the edge.
- Check the bottom track for debris; sliding screens often jam here.
- Use needle-nose pliers to remove broken spline pieces if they’re wedged.
- Spray a touch of WD-40 or silicone lubricant on metal tracks (never directly on the mesh).
If nothing works, step back forcing it will bend the frame. Examine where it’s catching and approach from another angle.
Different Window Types Need Slightly Different Techniques
Double-Hung Windows
Raise the lower sash, push the top of the screen up into the frame, and tilt the bottom toward you. Compress the spring clips if present.
Sliding Windows
Lift the screen upward into the top track, pull the bottom edge toward you, and then lower it out of the frame.
Casement or Awning Windows
Undo any hinge clips or pivot pins, then slide the screen gently out from the hinge side.
Pop-Out or Spring-Loaded Screens
Press inward on the spring-loaded tabs, then guide the opposite edge out first. Support the screen at both ends as you pull it free.
Each type has its own rhythm but once you know where the tension lies, removal becomes smooth and instinctive.
Clean, Repair, or Replace While It’s Out
Now that the screen’s out, take the opportunity to give it some TLC:
- Clean: Lay it flat and use mild soap, a soft brush, and water. Let it air dry completely.
- Repair: Small tears? Use a mesh repair patch.
- Replace: If the frame is bent or the mesh ripped beyond repair, a DIY screen replacement kit costs under $20 and takes 15 minutes to install.
Check the spline of that thin rubber cord holding the mesh. If it’s brittle or loose, replace it. This helps keep bugs out and extends screen life.
Reinstalling Your Window Screen
Reinstallation is just the reverse of removal. Insert the top edge first, then ease the bottom into place while compressing the springs or aligning the tabs. Snap the frame back into its track gently.
Before you call it done, open and close the window a few times. Make sure the screen sits flush and doesn’t rattle. A properly installed screen should feel snug, not tight.
Expert Tips to Avoid Breaking Screens in the Future
- Clean tracks regularly to prevent dirt buildup and sticking.
- Keep a spare spline and screen patch kit handy.
- Label which screen belongs to which window if you’re removing several.
- Store screens flat to prevent bending.
- Take a quick photo before removing the first one. It’ll make reinstallation faster.
And if you’re dealing with painted-in or damaged frames, don’t risk it. Call a window repair professional they can remove and reinstall without damaging your siding or jambs.
Final Thoughts
Knowing how to remove a window screen without breaking it saves you from frustration, costly repairs, and accidental damage. With a steady hand, the right tools, and patience, you can pop any screen out safely whether it’s for cleaning, replacement, or maintenance.
Take it slow, work smart, and your window screens will thank you (and stay perfectly intact).