
Quick and easy bathroom fan replacement guide for homeowners. Learn tools, steps, and safety tips to install a new fan with confidence.
Introduction: Why Bathroom Fan Replacement Matters
Let’s be real—your bathroom should be a peaceful retreat, not a humid cave that feels more like a rainforest. If you’ve been ignoring that rattling old fan or pretending not to notice the foggy mirrors and peeling paint, you’re definitely not alone. We’ve all been there. I used to dread stepping into my bathroom after a shower because the air felt like soup.
Replacing your bathroom fan might sound intimidating, but it’s honestly one of the most rewarding and surprisingly simple DIY upgrades you can do. A good fan keeps your bathroom fresh, your walls safe from moisture damage, and your mirror fog-free. So let’s walk through everything you need to know to make this project smooth and stress-free.
Understanding Bathroom Fan Replacement
What’s the Deal with Bathroom Fans Anyway?
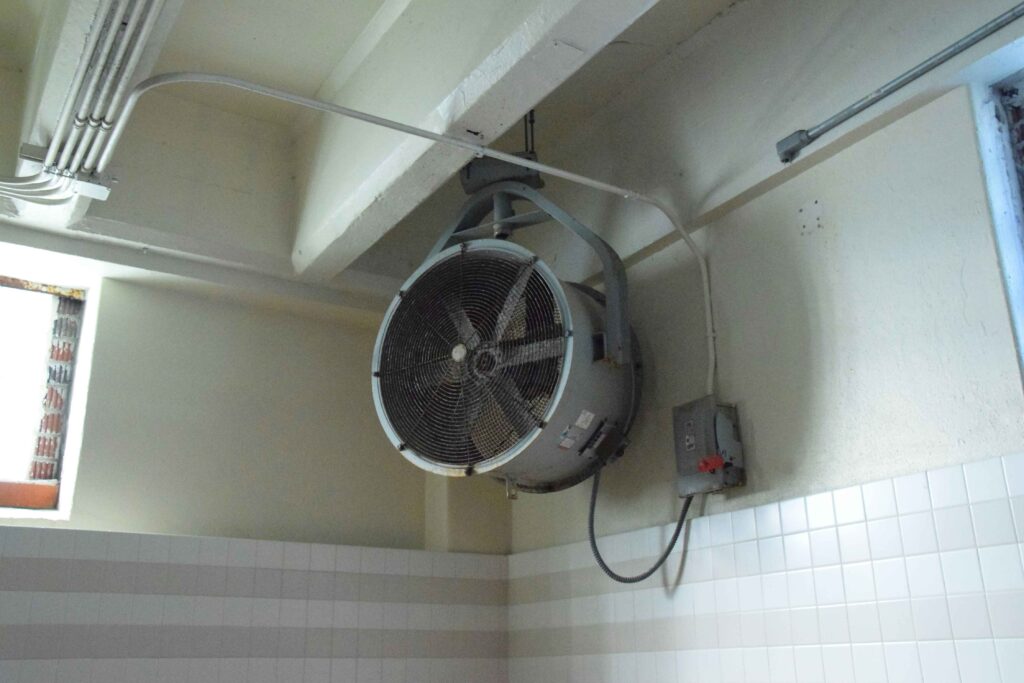
Think of a bathroom exhaust fan as your home’s little unsung hero. It quietly whisks away steam, odor, and excess humidity before they can turn your bathroom into a mildew factory. Without one—or with one that barely works—you’re inviting mold, warped wood, and that all-too-familiar musty smell to move in.
When It’s Time to Say Goodbye to the Old Fan
You’ll know it’s time for a replacement if:
- The fan is louder than your vacuum cleaner
- Steam lingers long after your shower
- The grille is rusted, yellowed, or hanging on by a thread
- It’s been a decade or more since you installed it
In my case, the final straw was when my bathroom fan literally fell out of the ceiling mid-shower. Not my favorite memory, but it definitely sped up my decision to upgrade.
Tools and Materials You’ll Need
Must-Have Tools
- Screwdrivers (flathead & Phillips)
- Voltage tester (so important—please don’t skip this!)
- Wire stripper/cutter
- Utility knife
- Drill with bits
Handy Extras
- Oscillating tool (a life-saver for tight spaces)
- Headlamp (because ceilings are shady places)
- Shop vac (you’ll thank me later)
Picking the Right Fan
Look for:
- CFM rating – Match it to your bathroom size (1 CFM per square foot)
- Noise level – Measured in sones. The lower, the better.
- Bonus features – Think motion sensors, humidity control, even night lights if you want to go fancy
Safety First: Please Don’t Skip This!
Kill the Power
Find your circuit breaker and switch it off. Then double-check with your voltage tester. Electricity and bathrooms don’t mix.
Set Up Safely
Make room in your bathroom, use a solid ladder, and make sure your lighting is good. Safety goggles and gloves can’t hurt either—especially if you’re dealing with old materials.
Let’s Get to It: How to Replace Your Bathroom Fan
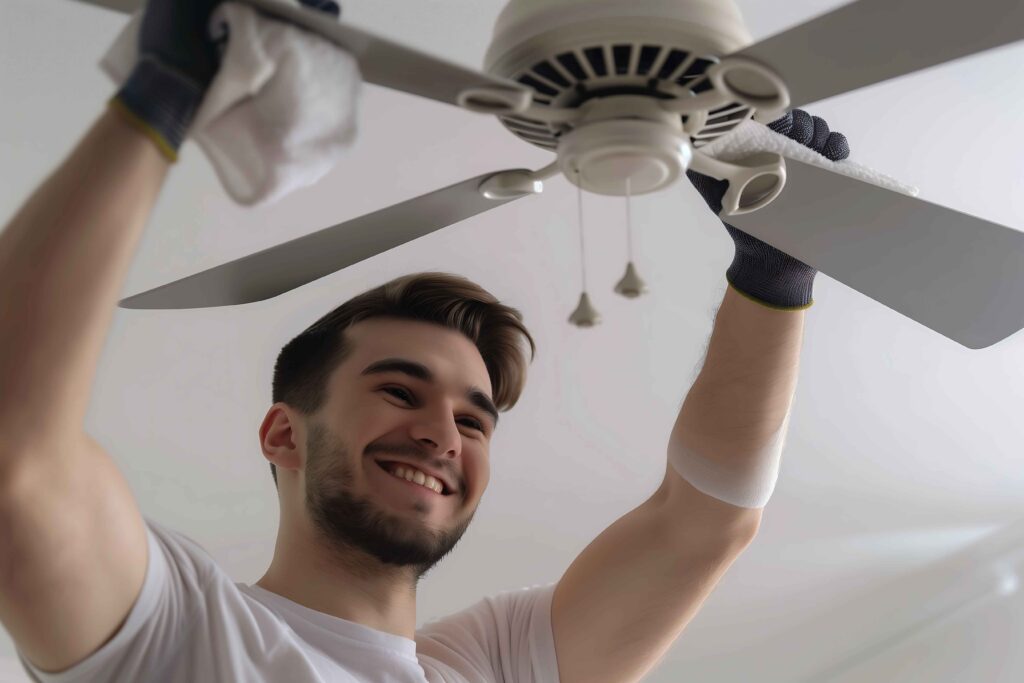
Step 1: Remove the Old Fan
Start by pulling down the old grille. Disconnect the wiring (remember the voltage tester!). Then unscrew or pry out the housing. It might take some gentle wiggling if it’s been up there for a while.
Step 2: Inspect and Clean
Before installing the new fan, check for mold or damaged drywall. Vacuum out the area to give your new fan a clean home.
Step 3: Install the New Fan
Slide in the new unit, align it with the existing duct, and secure it in place. Hook up the wires—black to black, white to white, and don’t forget the ground. Tighten everything up and make sure it’s secure.
Step 4: Test It Out
Flip the breaker back on and hit the switch. If you hear a nice hum (not a roar), you’re golden. Feel for airflow, listen for weird vibrations, and make any needed adjustments. Seal up gaps with caulk to keep air from leaking into your attic.
Keeping Your Fan in Tip-Top Shape
Clean It Regularly
Every 6 months or so, remove the grille and vacuum out dust. It’ll keep the fan running quietly and efficiently.
Maintenance Tips
- Gently wipe down the fan blades
- Check for loose screws or rattling
- Replace filters if your fan has them
When to Replace Again
If the fan becomes noisy, inefficient, or doesn’t seem to be doing much anymore, it’s probably time for another upgrade.
Don’t Want to Replace the Whole Thing? Here Are Your Options
Minor Repairs
If your fan still works but sounds off, you might just need to replace the motor or blade. This can buy you a few more years.
Upgrade Ideas
Want to take it up a notch? There are fans with built-in heaters, nightlights, and even Bluetooth speakers. Yes, you can sing in the shower with surround sound now.
Final Thoughts: Why This Project Is Worth It
I’ll be honest—replacing my bathroom fan wasn’t at the top of my weekend fun list, but once it was done, I felt like a genius. No more foggy mirrors. No more weird smells. And best of all, I didn’t have to spend a fortune hiring someone else to do it.
Bathroom fan replacement is one of those DIY wins that actually makes a difference in your daily life. It keeps your bathroom fresh, protects your walls and ceilings, and adds value to your home. So grab your tools, take a deep breath (pun intended), and get it done. You’ve got this.
FAQ: Bathroom Fan Replacement Questions Answered
Q1: Can I replace a bathroom fan without attic access?
Yes! There are models specifically designed for ceiling-only installation.
Q2: How long will this take me?
Give yourself 1 to 2 hours, especially if it’s your first time.
Q3: Do I need to replace the duct too?
Not unless it’s damaged. If it’s in good shape and fits the new unit, you’re good.
Q4: What’s the right fan size for my bathroom?
Match the CFM rating to your bathroom’s square footage. Most standard bathrooms do fine with a 70–100 CFM fan.
Q5: Can I get a fan with extra features?
Totally. Many newer fans have motion sensors, humidity control, and even lights. Go wild if it fits your needs.
Related Posts:
T-Spa Depot Tips: How to Keep Your Hot Tub Crystal-Clear & Inviting
10 Modern Bathroom Wallpaper Ideas for a Bold Look
13 Unreal Bathroom Wallpaper Styles That Feel Luxe