In this guide, we’ll uncover the most common mistakes when installing LVP flooring, explain why they happen, and show you exactly how to avoid them for a seamless, long-lasting finish.
Ever excitedly unbox your new luxury vinyl planks, start snapping them in place, and think — “Wow, this is easier than I thought!”? Then a week later, you notice tiny gaps, lifted corners, or squeaky patches? You’re not alone.
Installing LVP flooring (Luxury Vinyl Plank) seems simple — until small mistakes lead to big headaches. The good news? Most problems can be prevented with a little prep and patience.
- What Is LVP Flooring and Why People Love It
- Top 10 Most Common Mistakes When Installing LVP Flooring
- 1. Not Allowing the Planks to Acclimate
- 2. Skipping Subfloor Preparation
- 3. Ignoring Moisture Levels
- 4. Installing Over Uneven Surfaces
- 5. Not Leaving Expansion Gaps
- 6. Mixing Planks from Different Boxes
- 7. Incorrect Underlayment Use
- 8. Poor Cutting or Wrong Direction
- 9. Forgetting to Stagger Seams
- 10. Not Following Manufacturer Guidelines
- Bonus Tips for a Flawless LVP Installation
- Common Questions About Installing LVP Flooring
- Final Thoughts: Most Common Mistakes When Installing LVP Flooring
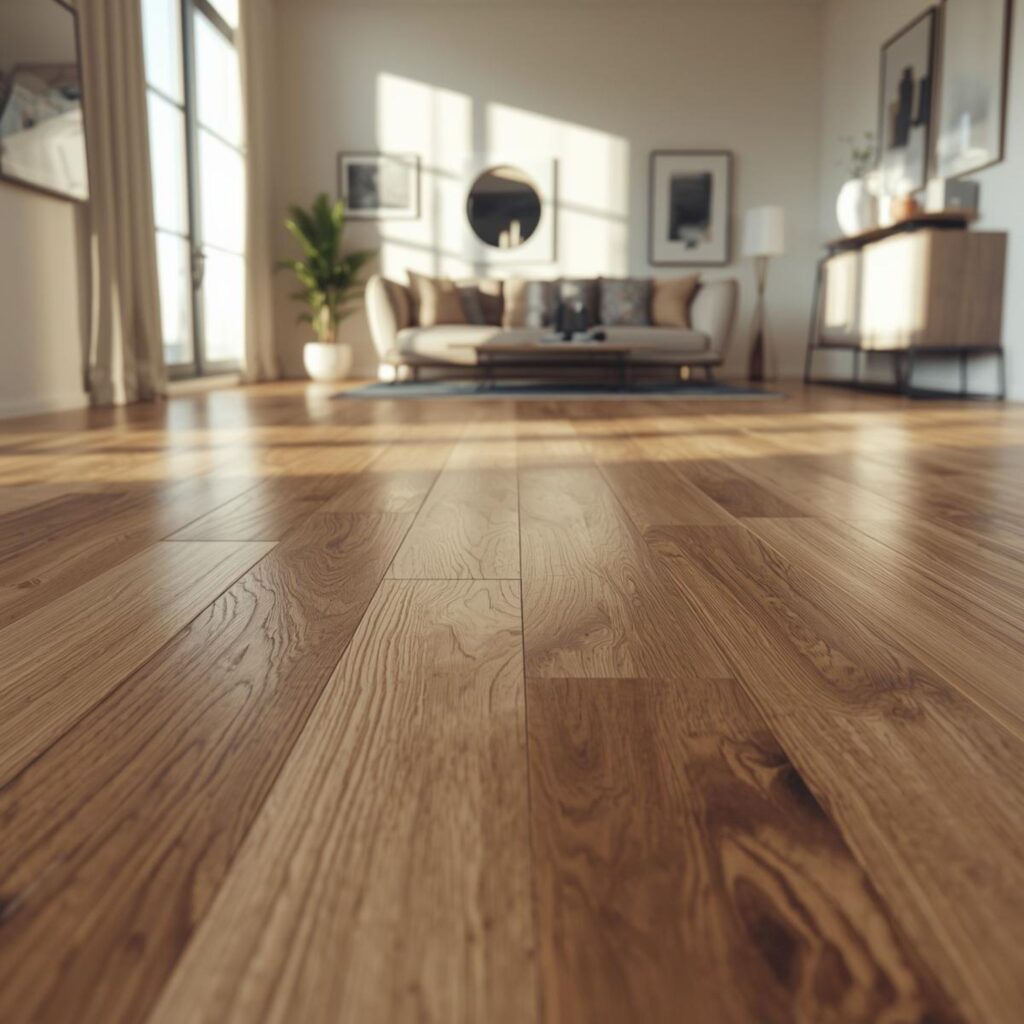
What Is LVP Flooring and Why People Love It
Before we get into the mistakes, let’s understand why LVP flooring is such a favorite among homeowners and DIYers.
LVP stands for Luxury Vinyl Plank — a modern flooring material that mimics real wood but offers incredible durability and water resistance. It’s perfect for high-traffic areas, bathrooms, kitchens, and even basements.
Related Content: How Designers Make Dark Wood Floors Feel Light (Without Replacing Them)
Here’s why people love it:
- Waterproof and durable: Ideal for families and pets.
- Affordable and realistic: You get that wood look without the high price.
- Easy installation: Click-lock or floating systems make it a DIY dream.
Still, even the easiest floors can go wrong if you skip key steps. Let’s walk through the top Most Common Mistakes When Installing LVP Flooring so you can avoid them.
Read: Why Homeowners Are Choosing KSI Flooring in 2025
Top 10 Most Common Mistakes When Installing LVP Flooring
1. Not Allowing the Planks to Acclimate
Skipping acclimation is one of the biggest LVP flooring installation mistakes.
LVP expands and contracts with temperature and humidity changes. If you install it straight from the box, it might buckle or form gaps later.
Tip:
Let your planks sit in the installation room for 24–48 hours to adjust to the environment. This simple step prevents LVP expansion and contraction issues down the road.
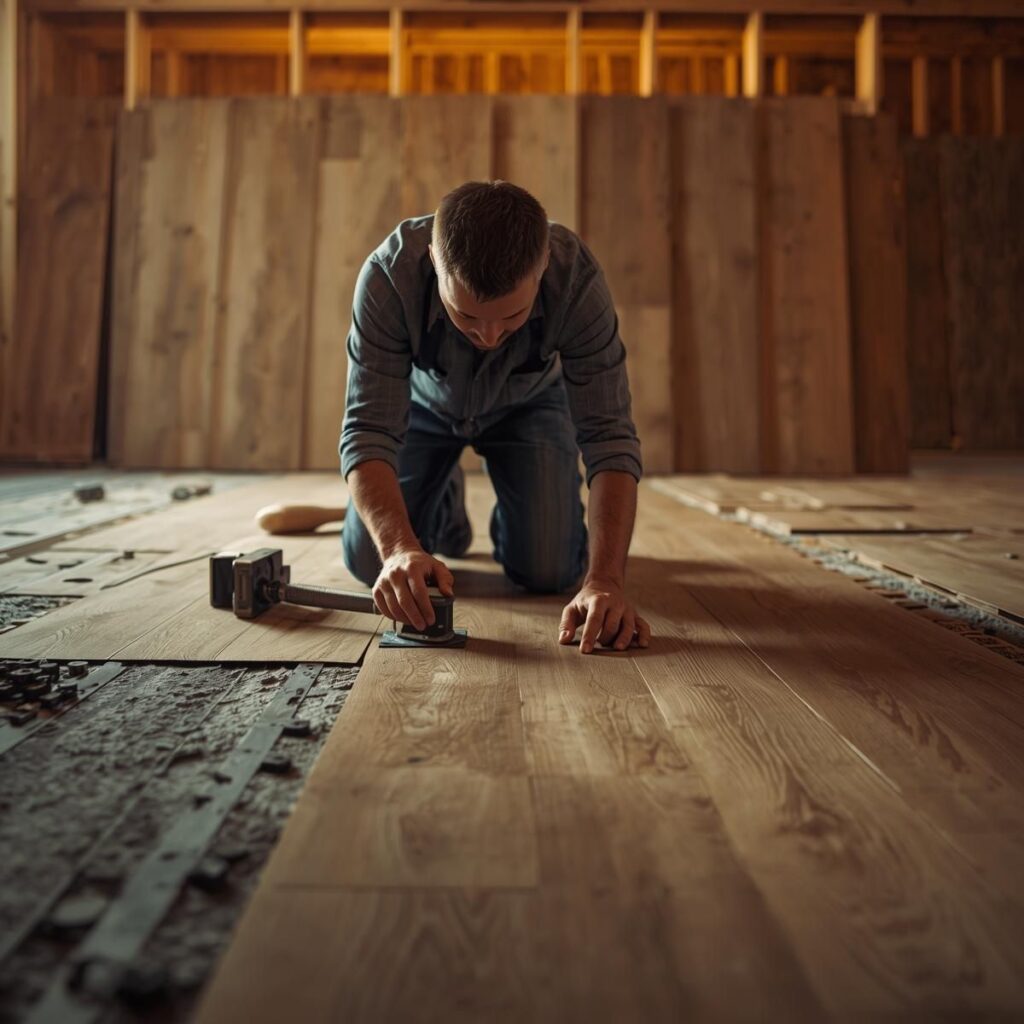
2. Skipping Subfloor Preparation
Think you can just lay planks over your old floor? Think again.
A clean, dry, and level surface is key. If you skip subfloor preparation for LVP, even tiny bumps or debris can cause uneven seams or creaks later.
Tip:
Sweep, vacuum, and check for moisture before installation. If needed, apply a moisture barrier for vinyl flooring to protect from dampness below.
3. Ignoring Moisture Levels
Ignoring moisture is another common vinyl plank flooring installation error — especially in basements or bathrooms.
Too much moisture can lead to warping, mold, or lifting planks. Always use a moisture meter to check the subfloor before starting.
Tip:
Keep humidity between 30–50% and ensure your subfloor is completely dry.
4. Installing Over Uneven Surfaces
Even the smallest dips can cause luxury vinyl plank installation problems. Planks might shift, separate, or squeak when walked on.
Tip:
Use a floor leveling compound to smooth out the surface. An uneven subfloor under vinyl plank flooring will always lead to trouble later.
5. Not Leaving Expansion Gaps
One of the most overlooked steps when installing floating vinyl floors is leaving enough expansion space.
Without a proper expansion gap, your floor has nowhere to move as it expands, leading to buckling or lifting.
Tip:
Leave at least a ¼-inch gap around walls, pipes, and door frames to allow for natural movement.
6. Mixing Planks from Different Boxes
Every box of LVP might have slight color or texture variations. Installing one box at a time can create awkward patterns.
Tip:
Mix planks from three or four boxes before installation for a natural, random look — just like real wood floors.
7. Incorrect Underlayment Use
Using the wrong underlayment is a beginner mistake in vinyl flooring installation.
If your planks already have attached padding, adding another layer can cause instability or floating floor problems.
Tip:
Check your manufacturer’s guide for underlayment for LVP flooring — not all floors need one.
8. Poor Cutting or Wrong Direction
Installing LVP against the direction of natural light can make seams more visible. Poor cutting can also lead to gaps and uneven edges.
Tip:
Lay planks parallel to the main light source and use a proper flooring cutter or utility knife for clean cuts.
9. Forgetting to Stagger Seams
Lining up seams creates weak spots and looks unnatural.
Tip:
Always stagger vinyl plank seams by at least 6 inches from one row to the next. This makes the floor stronger and more visually appealing.
10. Not Following Manufacturer Guidelines
Every brand has its own click-lock system and specific requirements. Skipping the manual can void your warranty or lead to installation failures.
Tip:
Always review your LVP installation checklist and follow manufacturer recommendations to the letter.
Bonus Tips for a Flawless LVP Installation
If you want your new floor to look like a professional job, keep these extra tips in mind:
- Keep tools ready — rubber mallet, tapping block, spacers, and pull bar.
- Work from the most visible wall outward.
- Double-check each row before locking it in place.
- Clean gently with a microfiber mop after installation.
These small details can prevent common vinyl plank flooring problems and give your space that sleek, high-end finish.
Read: Understand Flooring and Subflooring First — Stop Wasting Money on Floors
Common Questions About Installing LVP Flooring
Q1. How long should LVP flooring acclimate before installation?
Let it sit for at least 24–48 hours in the same room where it’ll be installed.
Q2. Can I install LVP over tile or existing vinyl?
Yes — if the surface is clean, dry, and level. Avoid thick or uneven old floors.
Q3. What’s the best temperature for installing LVP?
Keep the room between 65–85°F (18–29°C) for best results.
Q4. How do I fix gaps after installation?
You can use a heat gun and roller or reinstall affected planks to tighten seams.
Q5. Do I need underlayment for LVP flooring?
Only if your planks don’t already have attached padding.
Q6. How to prevent my LVP from buckling over time?
Leave expansion gaps and maintain stable humidity levels indoors.
Final Thoughts: Most Common Mistakes When Installing LVP Flooring
Installing LVP flooring is one of the most rewarding DIY projects — it transforms a space fast and adds lasting beauty. But skipping small steps can lead to LVP flooring installation mistakes that shorten your floor’s life.
Take your time, prep your space, and follow the steps carefully. The result? A smooth, durable, and professional-looking floor that feels just as good as it looks.
Before you start, review this guide one more time. Avoiding the most common mistakes when installing LVP flooring could save you hundreds of dollars — and give you a home you’ll be proud to walk on every day.